

Building a NFT Card Component with Next.js and Tailwind CSS
Crafting Engaging Digital Collectibles: A Hands-On Guide to Building an NFT Card Component with Next.js and Tailwind CSS


Table of contents
Embarking on this project is not just a mere task; it's a challenge presented by Front End Mentor, beckoning developers of all levels to push their boundaries and expand their skill sets.
For some, crafting a NFT card component might feel as effortless as blinking, while for others, it's a thrilling opportunity to venture into uncharted territory. Whether you're a seasoned professional seeking to refine your expertise or a budding UI developer taking your first steps into the world of non-fungible tokens (NFTs), this article is tailored for enthusiasts of all backgrounds, eager to learn and sharpen their abilities.
Throughout this comprehensive tutorial, we'll guide you step by step in building a visually captivating and highly functional NFT card component. NFT cards serve as integral elements on websites, offering a platform to showcase vital information about non-fungible tokens, from artwork to metadata and beyond.
By the end of this tutorial, you'll not only have mastered the intricacies of integrating Next.js and Tailwind CSS but also possess a sleek, responsive, and customizable NFT card component ready to seamlessly integrate into your Next.js projects. Get ready to elevate your web development skills and embark on an exciting journey into the captivating world of NFTs. Let's dive in!
Getting Started
Firstly, let's ensure that we have all the necessary tools set up on our local machine. Before diving into the project, it's essential to have Node.js and npm installed, as they form the foundation of our development environment. If you haven't already installed these tools, head over to their official websites to download and install them.
Now that we have Node.js and npm ready, we're all set to embark on our journey. In this project, we'll be leveraging the power of Next.js, a versatile React framework known for its seamless integration of server-side rendering, and Tailwind CSS, a utility-first CSS framework that streamlines the styling process.
To kick things off, let's create a new Next.js project. Open your terminal or command prompt and navigate to the directory where you want to create your project. Then, execute the following command:
npx create-next-app@latest nft-card-component
Replace "my-nft-project" with the desired name for your project. This command will bootstrap a new Next.js project in a folder with the specified name, initializing all the necessary files and dependencies.
Once the project setup is complete, navigate into the project directory:
cd nft-card-component
With our Next.js project set up and ready to go, the next step is to integrate Tailwind CSS into our project for styling. Let's proceed with installing Tailwind CSS and its dependencies:
npm install -D tailwindcss postcss autoprefixer
Once Tailwind CSS and its dependencies are installed, we need to generate a Tailwind CSS configuration file. Execute the following command in your terminal:
npx tailwindcss init -p
This command will generate a tailwind.config.js file in the root directory of your project, allowing you to customize Tailwind CSS to suit your specific styling preferences.
With Tailwind CSS successfully integrated into our Next.js project, we're now ready to dive into crafting our NFT card component.
Creating the NFT Card Component
Navigate to your Next.js project's public folder. Within it, create an images folder and move the downloaded images there. Next, within your project directory, create a new folder named components. Inside this components folder, create another folder named nft, and finally, within the nft folder, create a new file named page.tsx.
import Image from "next/image";
const Nft = () => {
return (
<div className="min-h-full rounded-2xl bg-dark-turquoise shadow-nft max-h-full mx-auto p-[22px] w-[313px]">
<div className="group relative rounded-[11px] w-[270px] h-[275px]">
<Image
priority={true}
className="rounded-[11px] object-cover"
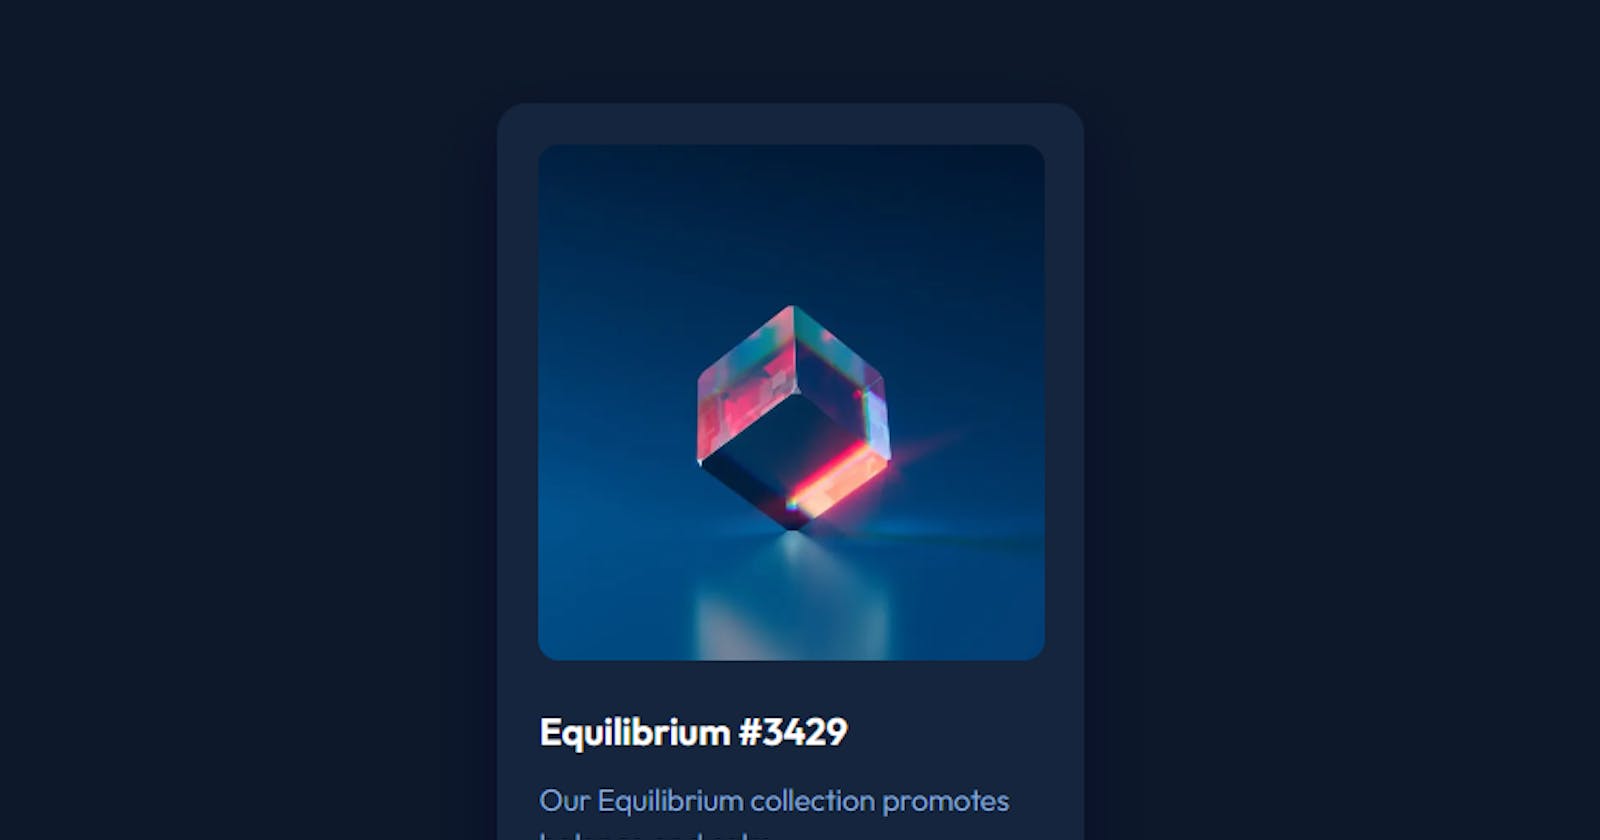
src="/images/image-equilibrium.jpg"
fill={true}
alt="equilibrium"
/>
<div className="rounded-[11px] absolute w-full h-full flex justify-center items-center bg-bright-cyan/40 opacity-0 group-hover:h-full hover:opacity-100 ease-in-out duration-300 cursor-pointer">
<Image
src="/images/icon-view.svg"
width={45}
height={45}
alt="view"
/>
</div>
</div>
<h1 className="font-semibold text-xl pt-6 hover:text-bright-cyan cursor-pointer">
Equilibrium #3429
</h1>
<p className="text-pale-blue font-light pt-[10px] pb-5">
Our Equilibrium collection promotes balance and calm.
</p>
<div className="flex justify-between font-medium">
<div className="flex items-center">
<Image
src="/images/icon-ethereum.svg"
width={11}
height={18}
alt="ethereum"
/>
<p className="pl-2.5 text-bright-cyan">0.041 ETH</p>
</div>
<div className="flex items-center">
<Image
src="/images/icon-clock.svg"
width={18}
height={18}
alt="clock"
/>
<p className="pl-[10px] text-pale-blue">3 days left</p>
</div>
</div>
<div className="border-b border- border-dark-blue w-full py-2.5"></div>
<div className="flex flex-row items-center py-3">
<Image
className="border rounded-full border-nft-white"
src="/images/image-avatar.png"
width={30}
height={30}
alt="Avatar"
/>
<p className="font-light text-pale-blue pl-2.5">Creation of</p>
<p className="text-nft-white font-light pl-1 hover:text-bright-cyan cursor-pointer">
Jules Wyvern
</p>
</div>
</div>
);
};
export default Nft;
Add the nft component to your page.tsx that is within the app folder.
import Preview from "@/components/nft/page";

export default function Home() {
  return (
    <main>
      <Nft />
    </main>
  );
}
Adding custom style to the NFT card component.
import type { Config } from "tailwindcss";

const config: Config = {
  content: [
    "./pages/**/*.{js,ts,jsx,tsx,mdx}",
    "./components/**/*.{js,ts,jsx,tsx,mdx}",
    "./app/**/*.{js,ts,jsx,tsx,mdx}",
  ],
  theme: {
    extend: {
      backgroundImage: {
        "gradient-radial": "radial-gradient(var(--tw-gradient-stops))",
        "gradient-conic":
          "conic-gradient(from 180deg at 50% 50%, var(--tw-gradient-stops))",

      },
      boxShadow: {
        'nft': "0px 15px 30px 10px hsla(244, 76%, 8%, 0.464)",
      },
      colors: {
        "midnight-navy" : "hsl(217, 54%, 11%)",
        "dark-turquoise" : "hsl(216, 50%, 16%)",
        "pale-blue":"hsl(215, 51%, 70%)",
        "bright-cyan":"hsl(178, 100%, 50%)",
        "dark-blue":"hsl(215, 32%, 27%)",
        "nft-white": "hsl(0, 0%, 100%)",
      },
    },
  },
  plugins: [],
};
export default config;
That's it! You've successfully created a nft card component using Next.js and Tailwind CSS. Feel free to customize the component further to fit the design of your website.
You can find the complete code for this tutorial on GitHub and the live preview on Vercel.
Happy coding! 🚀